To make Instagram Reels with photos, frame each photo for a vertical 9:16 canvas, animate it with an AI image-to-video tool and a short motion prompt, then import the MP4 into the Reels editor to add music and captions before you post.
One hero photo makes a single-shot Reel. For a sequence, animate several stills and join them. No timeline or keyframes are needed.
How to Make Instagram Reels with Photos in 4 Steps
Frame, animate, add sound and text, then post. The AI handles the motion; Instagram's own editor handles music, captions, and the cover.
Step 1: Frame the Photo for 9:16
A vertical 9:16 canvas is a practical starting point for a photo-based Reel. 1080×1920 is one canvas of that shape, not a guarantee of your model's output settings. Check the current publishing options in your account and preview the framing before posting.
These are planning choices, not a statement of current Instagram upload limits or guaranteed output quality. Cropping and compression can affect the final result.
| Setting | Recommended value |
|---|---|
| Aspect ratio | 9:16 (vertical) |
| Resolution | 1080 × 1920 px |
| Frame rate | Use the available export rate; preview motion before posting |
| Length | Check current account publishing limits; choose length for your brief |
| File format | MP4 (H.264) |
| File size | Check the current publishing controls in your account |
| Safe area | Preview app overlays and keep essential details clear of them |
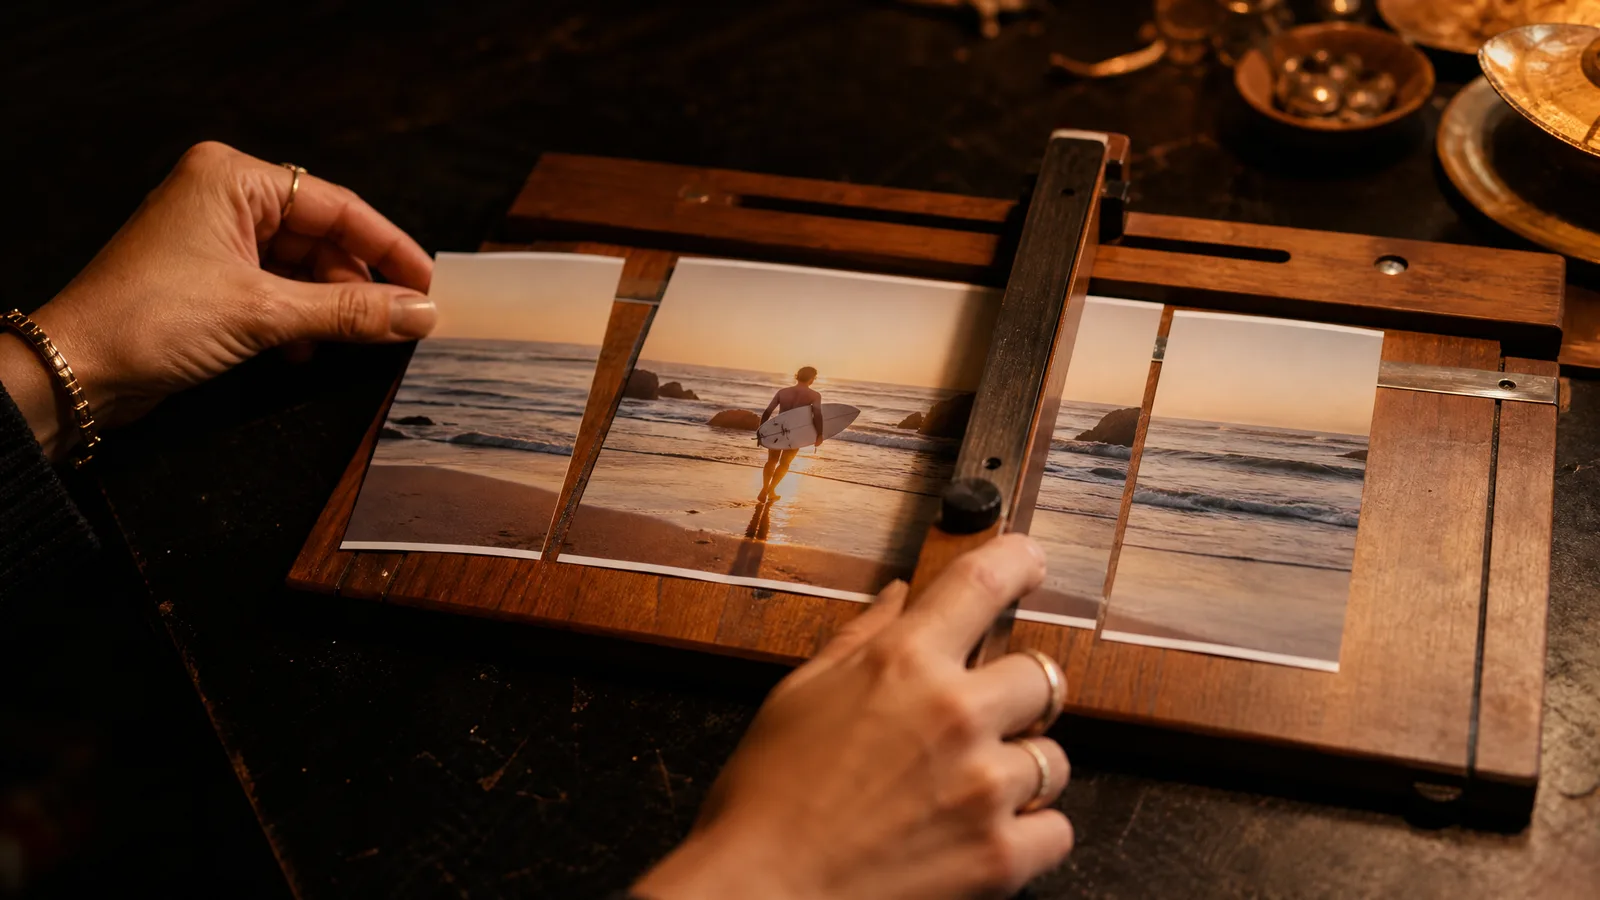
If your source photo is horizontal, do not paste it into a vertical canvas, or you get a small strip floating in blur. Crop into the subject so it fills the frame, or use a full-bleed vertical composition.
Keep important content away from the very top, where the profile handle sits, and the bottom third, where the caption, audio label, and buttons overlay. Portraits, vertical product shots, and full-height scenes convert most cleanly because they already match the tall frame.
See image to video AI in action
Give a photograph its next moment. Describe the movement and explore a short scene for your story, campaign or creative project.
Try it freeStep 2: Add AI Motion to the Photo
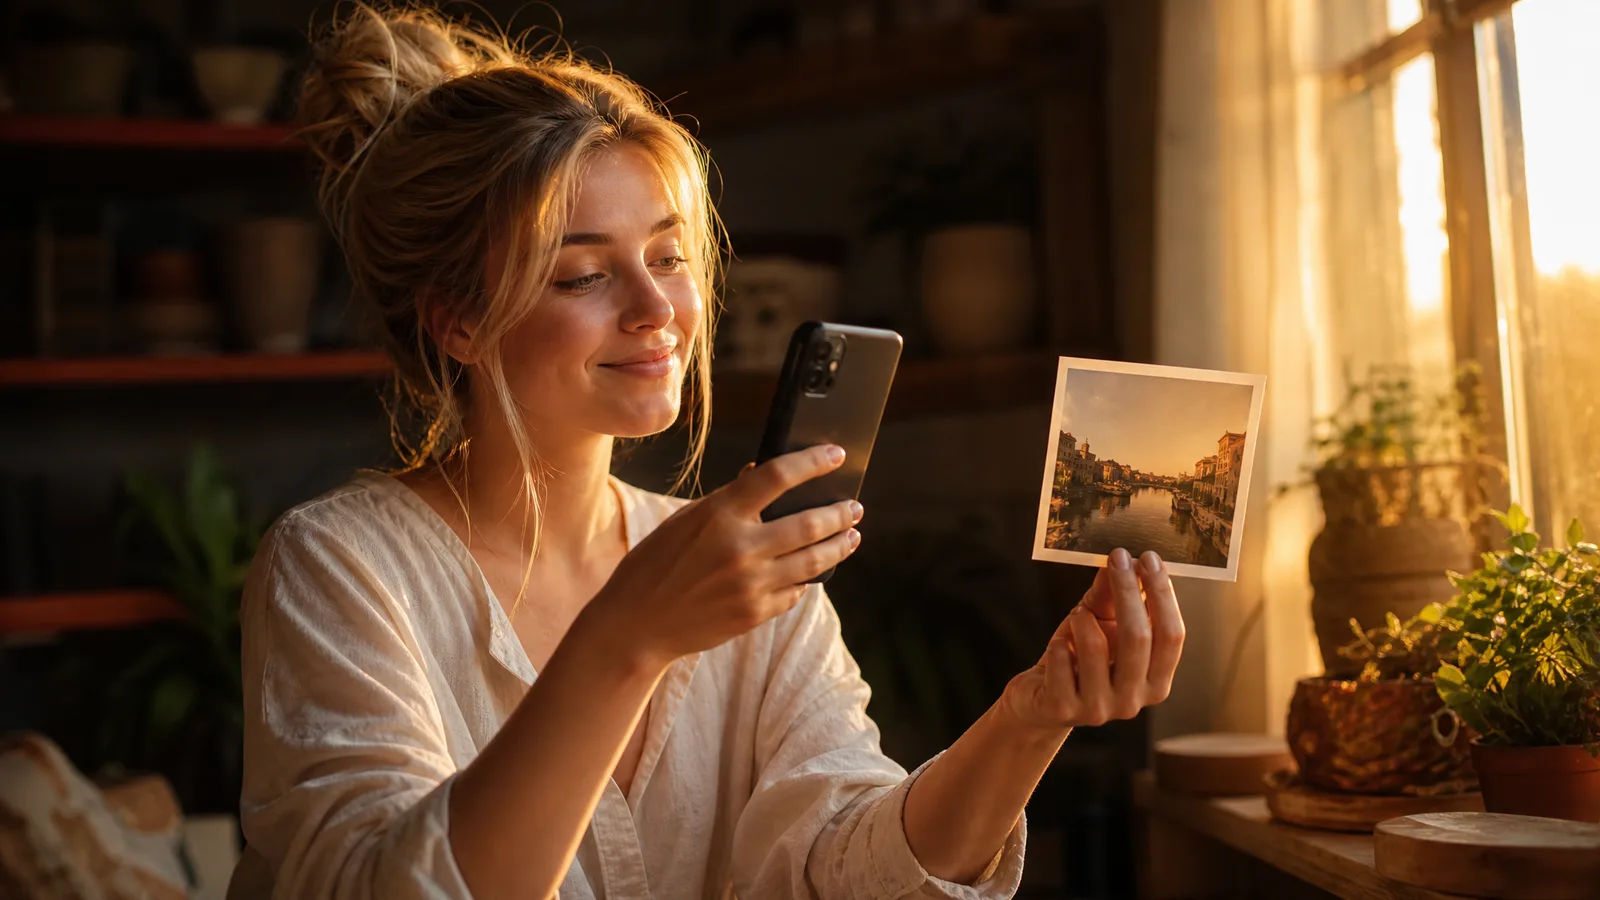
Upload the photo to an AI image-to-video generator, describe the motion you want (like "slow camera push in, gentle wind"), and generate a clip using the available duration settings. The source photo guides the opening composition; the model generates plausible movement such as parallax or a drifting camera.
This is what makes a photo Reel feel like video instead of a slideshow. Image-to-video models such as Runway Gen-4 Turbo, Kling 3.0 and Veo 3.1 can make hair and fabric sway, clouds drift, and a camera ease forward.
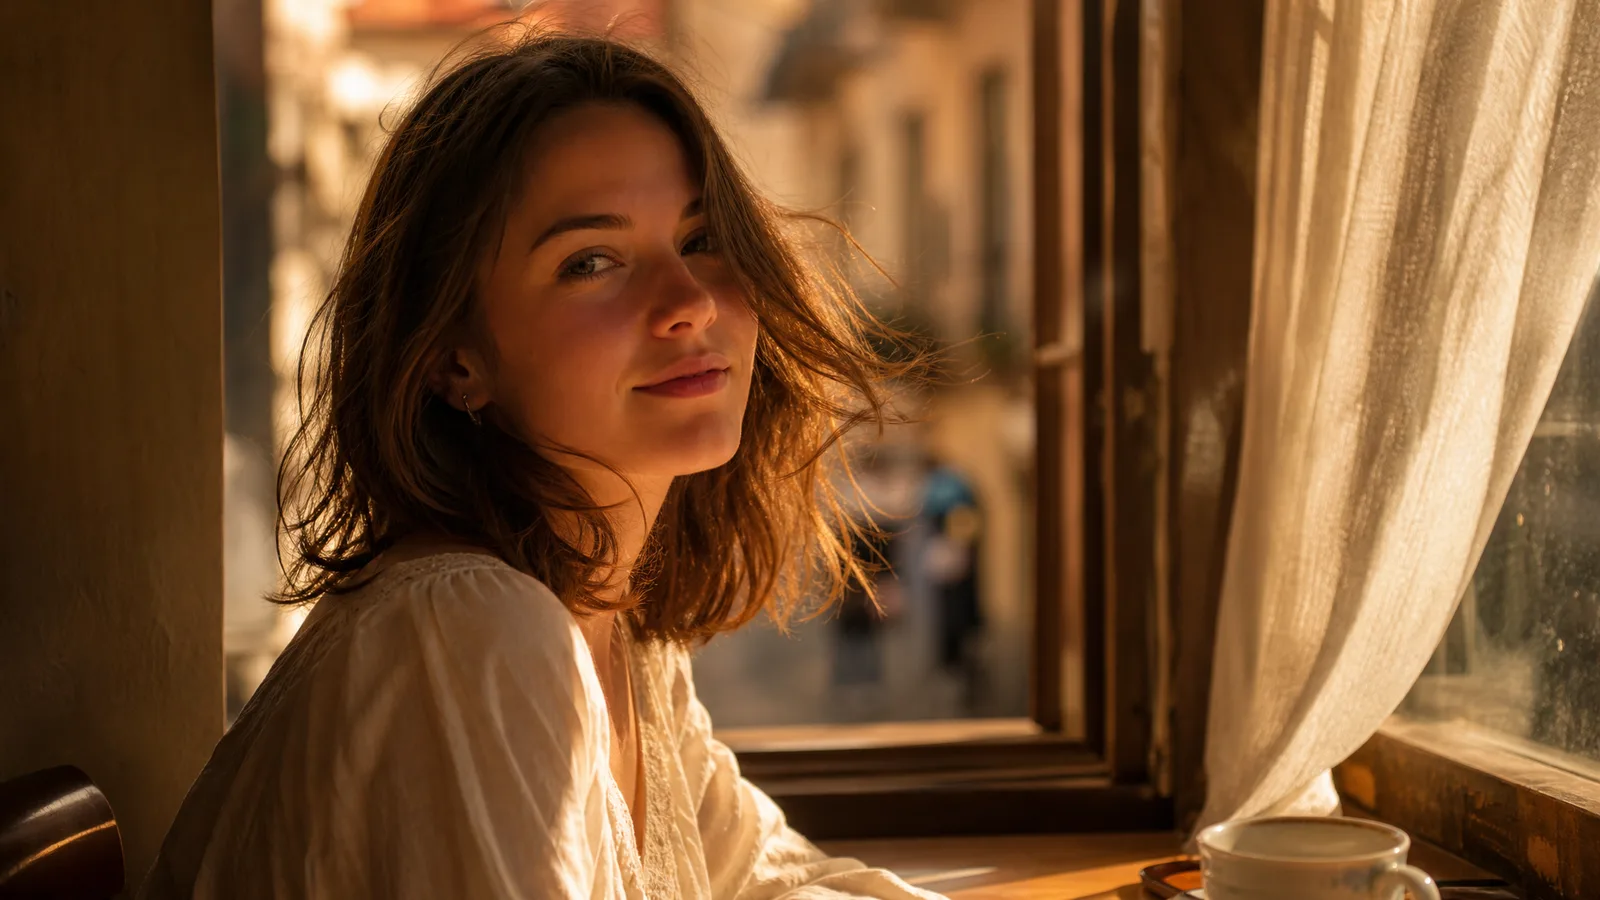
Generated frames can still change identity and details, so inspect the full clip rather than assuming the original image stays unchanged. For how this works under the hood, our explainer on image to video AI covers the diffusion pipeline in plain terms.
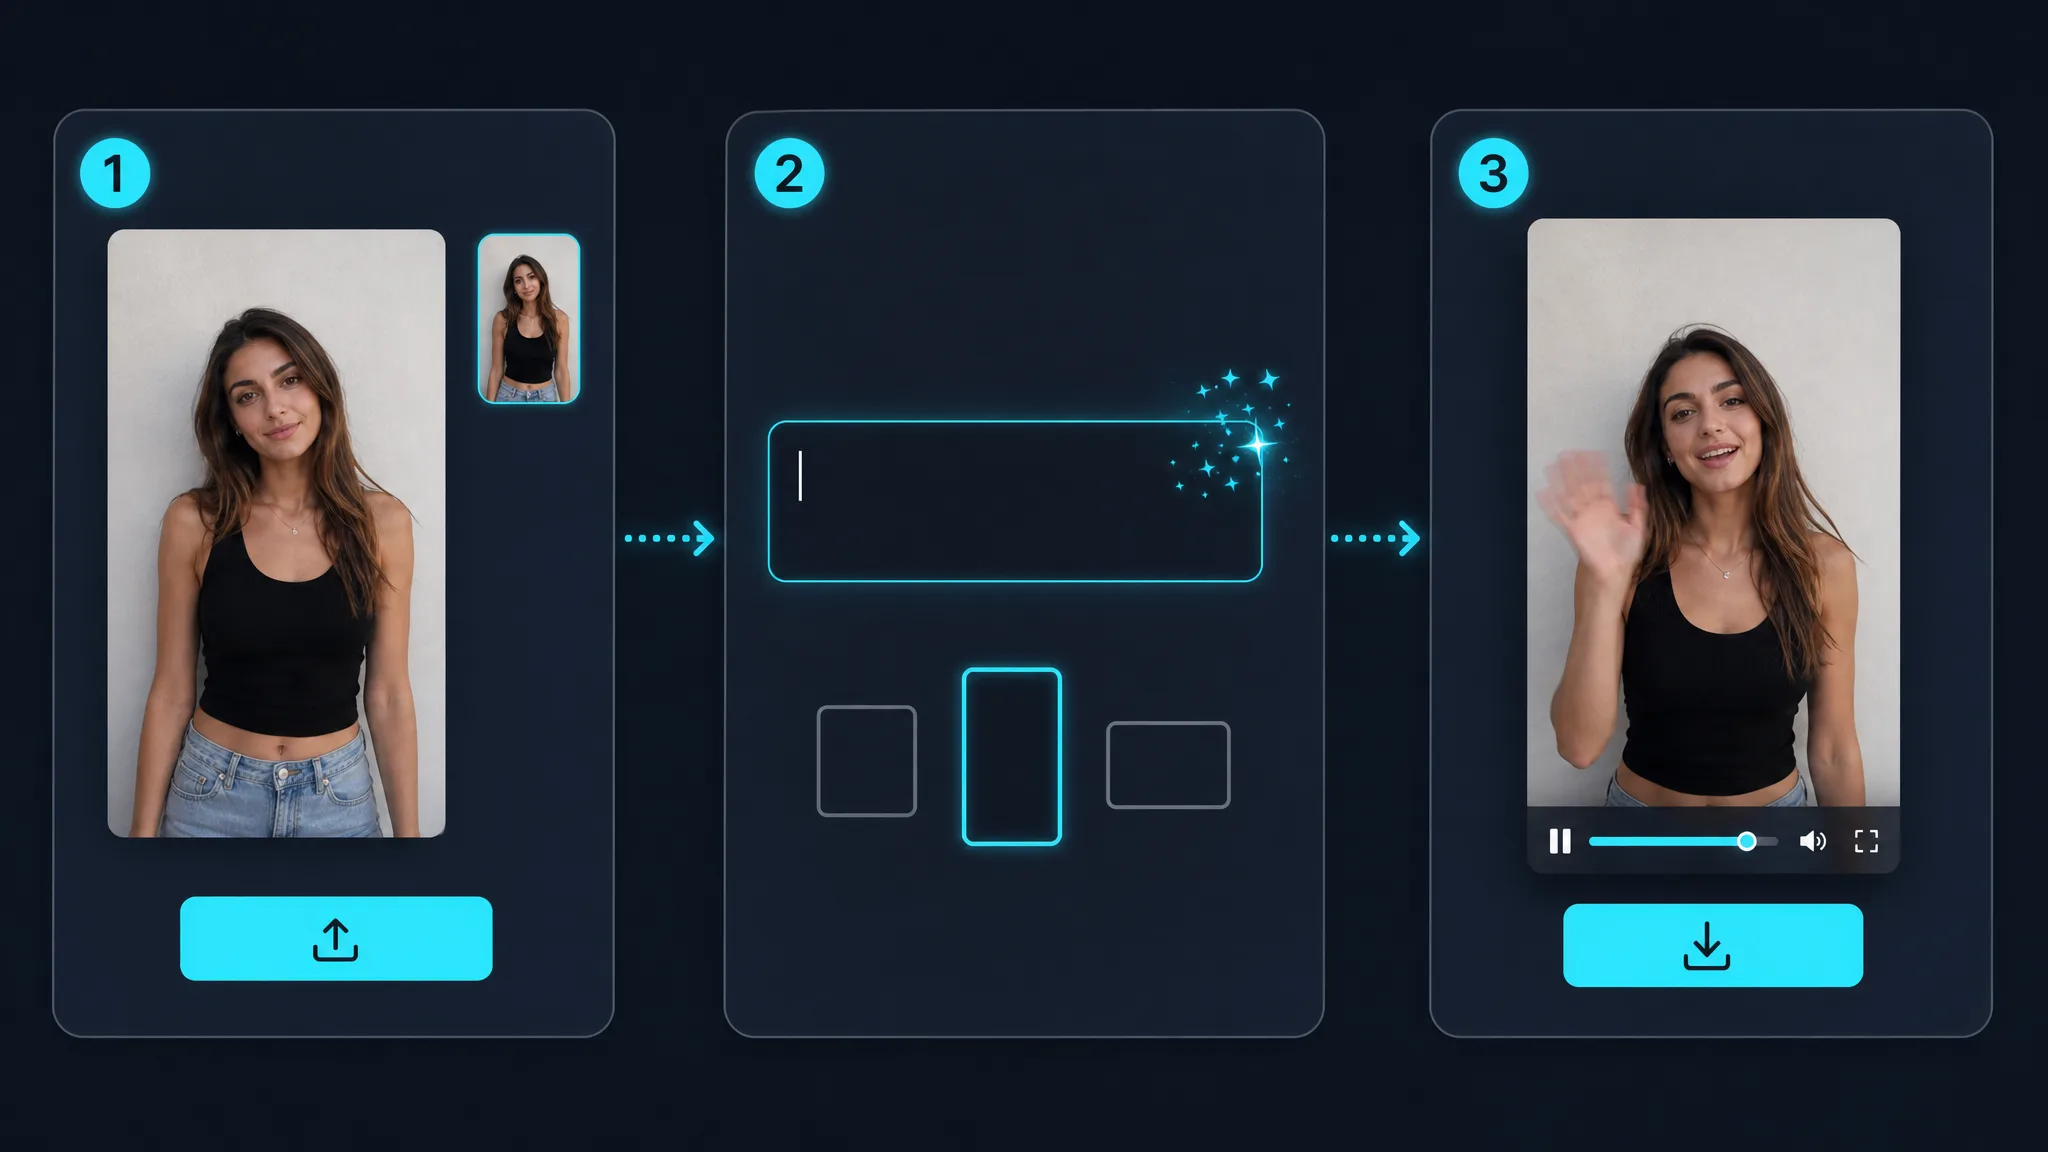
ImgVid runs in your browser, so there is nothing to install. The core loop:
- Upload a strong photo. Sharp, well-lit images with one clear subject animate most reliably. Avoid heavy motion blur, busy backgrounds, and tiny text or hands, which models can distort when they move.
- Describe the motion. ImgVid's video models require a short prompt, and it steers the result: "slow zoom in on the subject" or "camera drifts left, soft breeze." Our guide to the best prompts for AI image to video has copy-ready examples.
- Review the supported settings. There is no universal motion-strength slider. Request restrained movement in your prompt.
- Generate and review. Processing time varies with model, settings and provider queue. Regenerate with a tweaked prompt if the movement is off.
- Export vertical. Download the clip in your 9:16 frame so it drops straight into the Reels editor.
You can animate your first photo now with ImgVid's photo to video generator.
Turn your image into a video now
Start with a photo and a motion idea. Create a moving scene for a personal story, a product reveal or your next social post.
Get startedStep 3: Add Music and Captions
In the Reels editor, tap the music note, search or browse trending audio from Instagram's own library, and trim it to your clip. That library is pre-licensed for the platform, which makes it the safest path. Business and professional accounts sometimes get a smaller commercial catalog, so a greyed-out track usually means that.
Sound is a creative choice. Plan whether the message still works when muted; no audience-wide listening rate or discovery boost is established here, and no track or caption style guarantees reach.
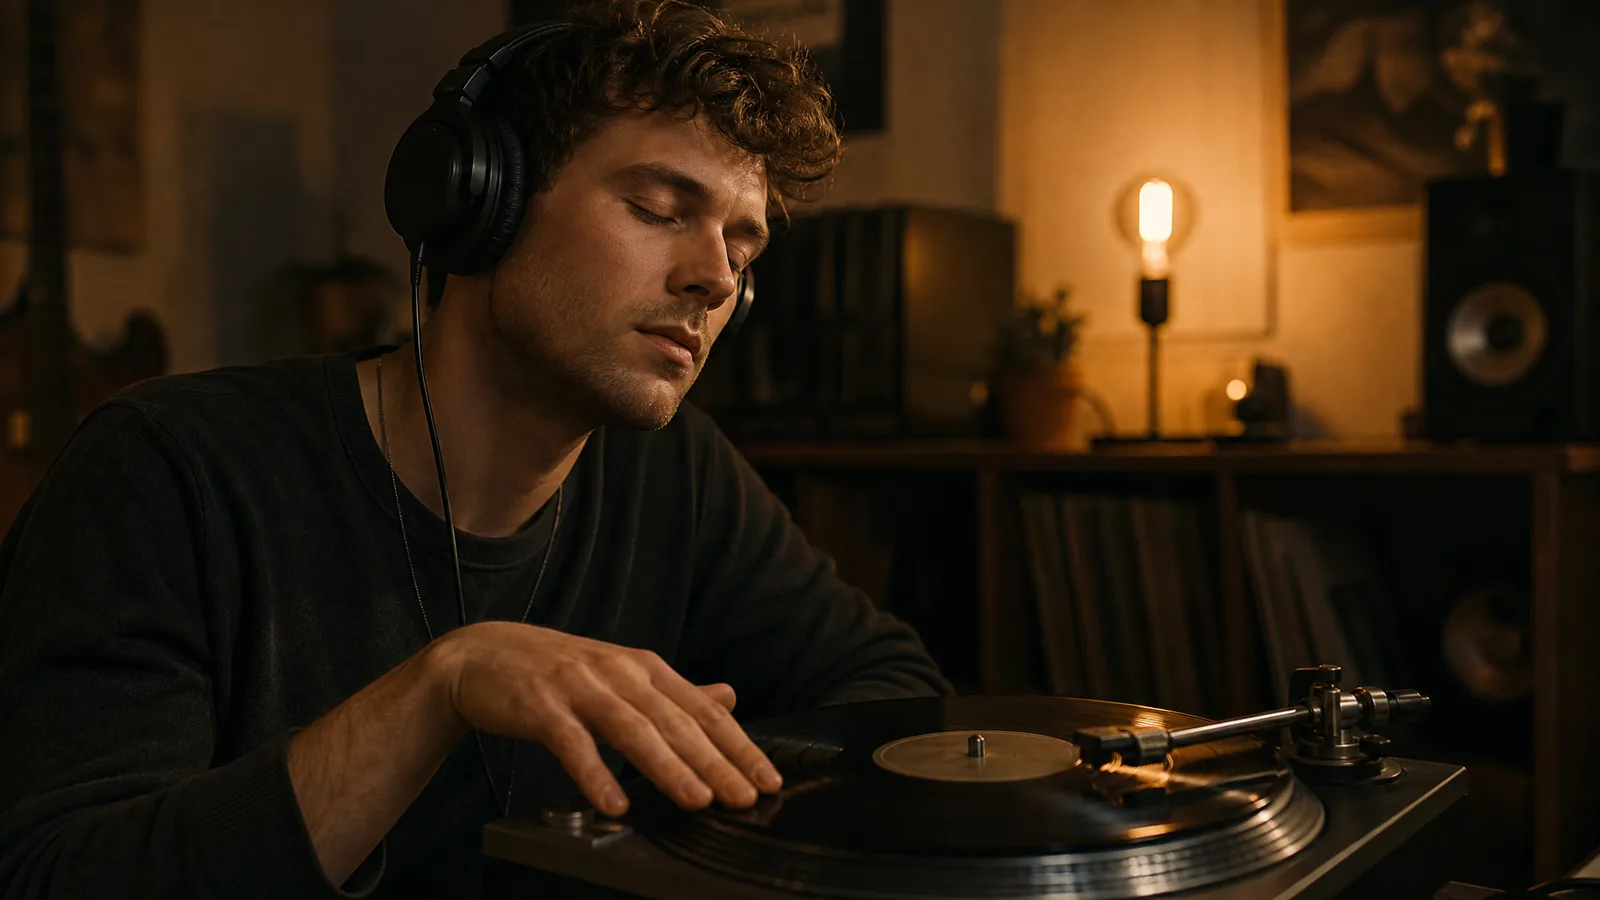
To sync, find where the AI motion peaks, such as a camera push that lands or a subject that turns, and align it with a beat drop. Even a rough sync makes the Reel feel intentional. In a multi-photo sequence, cut between stills on the beat.
If you would rather not source a track, some models in the ImgVid workspace can generate audio with the clip. Describe the instrument, genre and mood in the prompt, then listen to the full result before posting.
Reference-audio inputs depend on the selected model and do not guarantee an exact recording or beat match. For a particular song, use a licensed source and check the publishing conditions.
On-screen captions can make the message understandable without audio and make the Reel more accessible; measure their effect in your own account. You have two options:
- Manual text. Use the Aa text tool for titles, hooks, or context. Keep type large, high-contrast, and inside the safe zone.
- Auto captions. The captions sticker can auto-generate subtitles from spoken audio. Always proofread them, since auto-transcription slips on names and jargon.
A simple hierarchy works: a bold hook in the first second, minimal text through the middle, and a clear payoff at the end. Show one readable line at a time, and preview every caption against the app overlays.
Step 4: Post the Reel to Instagram
Tap + → Reel, pick your exported MP4 from the camera roll, confirm the 9:16 crop, check music and captions, then write a caption, add hashtags, choose a cover frame, and share.
- Import the clip. Instagram may re-prompt the 9:16 crop; confirm it fills the frame with no bars.
- Confirm audio and text. If you added music and captions in another editor, verify they survived the upload.
- Write a clear caption. Lead with a hook and naturally describe that it is a photo animated into a Reel. Keep it human, not stuffed.
- Add hashtags. Mix a broad tag with niche ones that match your subject; this guide establishes no reach advantage for a particular count.
- Choose a cover. Pick a crisp frame or upload a custom cover so your grid stays clean.
- Set the details and share. Tag people or products if relevant, and use your account analytics to decide when to post.
If Your Reel Looks Wrong, Change One Thing
Fix the single most visible problem, regenerate or re-edit, and compare. Changing one variable at a time shows you what actually helped.
| What you see | What to change |
|---|---|
| Black bars or a floating strip | Re-crop the photo to fill 9:16 before animating |
| Face or details drift | Use a sharper photo with one clear subject |
| Motion looks obviously AI | Ask for one subtle movement in the prompt |
| Text hidden behind buttons | Move captions inside the safe zone |
| Track greyed out | Your account type may have a smaller music catalog; pick another track |
Distortions can come from the source, the requested action, or the model. A little movement reads as cinematic; too much reads as obviously AI. When in doubt, generate a gentle and a bold version and keep whichever loops more cleanly.
How Do You Make a Reel From Several Photos?
Animate each photo separately, then join the clips in the Reels editor or any editor you like. Image-to-video is a short-clip technology, and each model offers its own supported durations.
Animate three to five stills and plan each one as a 3–5 second beat so the sequence stays tight. Our walkthrough on how to make a video out of photos covers building longer pieces from multiple frames.
After posting, judge performance in your analytics over several days, not an hour. If a photo-to-Reel format works, turn it into a series.
ImgVid runs in the browser and provides signup credits for eligible Gmail or googlemail accounts, so you can batch-animate a week of photos in one sitting without a studio or editing suite.
FAQ
How do I make Instagram Reels with photos using AI?
Upload a photo to an AI image-to-video tool, describe the motion in a short prompt, and generate a 9:16 clip. Then open Instagram, tap + → Reel, import the clip, add music and captions, and share. The AI handles the motion, so you need no editing skills.
What size should photos be for Instagram Reels?
A 9:16 vertical composition is a useful planning choice. Use the output settings your model supports, preview faces and text against app overlays, and check the current upload options in your Instagram account.
Can I turn a single photo into a Reel?
A single photo makes a good single-shot Reel. Animate it with an AI image-to-video generator to add camera motion or subtle movement, then add music and a caption in the Reels editor. Most models produce a clip of a few seconds from one image; check the durations your chosen model offers.
Is it free to make Reels from photos with AI?
Many AI tools offer trial or signup credits before you subscribe. ImgVid provides signup credits for eligible Gmail or googlemail accounts, so you can test the workflow before paying. Model access, settings and sufficient credits are separate requirements, so check the configuration and quote before starting.
How do I add music to a photo Reel?
Add music inside the Instagram Reels editor: tap the audio icon, choose a track from Instagram's licensed library, and trim it to your clip. Aligning a motion peak with a beat drop makes the Reel feel intentional as a creative choice; a discovery boost is not established here.
How long should an Instagram Reel made from photos be?
Check the current duration options in your account and choose a length that serves the brief. No single length is guaranteed to improve attention or create a seamless loop. For a multi-photo Reel, plan each still as a 3–5 second beat so the sequence stays tight.
Which AI models are best for animating photos into Reels?
Compare supported duration, resolution, framing, access and credits in the current model picker. Runway image to video and Kling image to video describe available configurations, not measured quality winners. Choose a compatible model yourself and inspect the result.
Do I need editing skills to make a photo Reel?
You need none. AI image-to-video tools run in the browser: you upload a photo, add a short motion prompt, and generate a clip with no timeline or keyframes. Instagram's Reels editor then handles music and captions with a few taps.