To run image to video locally in ComfyUI, update ComfyUI, open the official Wan2.1 image-to-video template, and load its 14B image checkpoint, text encoder, VAE and CLIP Vision files. Add your image, write a motion prompt, run one controlled test, and record where it fails. Whether a 16GB card completes it depends on that configuration.
This guide explains how to inspect the official workflow and plan a bounded local test. It does not certify a 16GB setup or report a benchmark; we have not run the workflow on a 16GB GPU for this revision. If you only need the concept, read what image to video AI is first.
What Do You Need to Run Image to Video Locally in ComfyUI?
You need an image-to-video checkpoint, its supporting components, a current ComfyUI install and enough GPU memory, system memory and disk for that exact workflow. Memory capacity alone cannot tell you whether it will complete.
Pick the Image-to-Video Checkpoint
Choose the actual image-to-video workflow before deciding whether a 16GB card is sufficient. A low-memory statement for a text-to-video model does not establish image-to-video compatibility, because tasks within one model family can use different checkpoints.
The official ComfyUI Wan2.1 examples distinguish a 1.3B text-to-video workflow from 14B image-to-video workflows, with separate 480p and 720p diffusion checkpoints. The low-memory discussion about the lightweight model should not become a promise that the 14B image workflow runs on 16GB.
This guide follows the official Wan2.1 ComfyUI example. Newer Wan versions have their own official examples and checkpoints, so check those before reusing file names from here.
Before downloading large files, write down the exact task and checkpoint, and confirm it accepts an image. A text-to-video model and an image-conditioned model can need different nodes, conditioning inputs and components even when they appear in the same tutorial.
Check the Rest of the Local Environment
Look beyond the advertised GPU memory. Your environment also includes:
- a supported driver and the machine's operating system;
- the ComfyUI installation and its dependency versions;
- system memory and disk space;
- any model-specific components.
A recommended-hardware list is not evidence that your particular workflow will complete. Check the installation method and current requirements in the official documentation for your version.
Record a Local Configuration
Write these down before the first run so every result is tied to a known setup:
| Item | What to record | Why it belongs in the test |
|---|---|---|
| Model and task | Exact checkpoint and image-to-video mode | Prevents confusing a text-only example with image conditioning |
| Model precision | The format actually loaded | A different precision is a different configuration |
| Workflow | Source URL and saved graph | Makes the node sequence inspectable and repeatable |
| ComfyUI version | Installed version and required nodes | Helps diagnose a workflow/version mismatch |
| GPU and memory | Device, available memory and other active workloads | The advertised capacity is not all available to one process |
| Output settings | Dimensions, frame count and sampler settings | Establishes the workload being attempted |
| Results | Completion, peak memory where measured, errors and elapsed time | Separates observations from estimates |
Keep enough free disk space for the files you actually select, their dependencies and temporary outputs. Do not rely on one generic download-size estimate. The diffusion checkpoint, text encoder, VAE and vision encoder are separate files; copying only the largest one does not complete the installation.
How to Run the Wan2.1 Image-to-Video Workflow in ComfyUI
Update ComfyUI, open the official image-to-video template, connect the diffusion model, text encoder, VAE and CLIP Vision files it names, add an image and prompt, then run. This section describes the documented setup, not a successful run on our hardware.
Concept illustration, not a ComfyUI screenshot or a runnable workflow. Use the official example linked above for the actual nodes and files.
For the documented 480p example, the diffusion file is wan2.1_i2v_480p_14B_fp16.safetensors; the 720p example uses wan2.1_i2v_720p_14B_fp16.safetensors. Both differ from the 1.3B text-to-video diffusion file, which matters when you read a low-VRAM tutorial or compare downloads.
The official component list includes the Wan VAE, a UMT5 text encoder and clip_vision_h.safetensors, with FP16 and scaled FP8 text-encoder options. An FP8 text encoder does not make every component, including the diffusion model, an FP8 checkpoint. Read each file's name and role separately.
Step 1: Update ComfyUI
The official instructions ask local users to update ComfyUI so the native Wan Video nodes are available. A missing node can come from an outdated installation or a node import failure, so check both before blaming the model weights.
Step 2: Open and Save the Official Template
Open the image-to-video template from the official guide or its template library. Save a local copy so you can track later changes without losing the original graph.
Step 3: Check the Diffusion Model
Confirm that Load Diffusion Model references the checkpoint for the 480p or 720p image workflow you chose.
Step 4: Check the Text Encoder, VAE and CLIP Vision
Match the Load CLIP text encoder and Load VAE files against the official component list. Confirm that Load CLIP Vision has the expected image-conditioning component.
Step 5: Add Your Image
Put your image in Load Image. Use an input you have permission to process, with a clear subject and a simple composition.
Step 6: Write the Prompt and Check Dimensions
Enter the motion description in the text-encoding node. Inspect the dimensions in WanImageToVideo and use settings that workflow supports.
Step 7: Review, Then Run
Review the graph and the actual files once more. On a memory-constrained machine, define the configuration you will try and the conditions that mean you should stop and revise it.
The official instructions name the Run action and its keyboard shortcut. Loading and running are separate steps: a graph that opens without missing nodes has not yet shown that the model loads into memory, completes sampling or decodes all frames.
See image to video AI in action
Give a photograph its next moment. Describe the movement and explore a short scene for your story, campaign or creative project.
Try it freeWill Comfy UI Image to Video Fit in 16GB?
Nobody can answer that for every setup, and this guide has not verified a 16GB run. It depends on the checkpoint, precision, frame dimensions, frame count, loaded components and offloading behavior, which together set the working set.
There is no universal set of values that makes every image-to-video checkpoint fit 16GB. Treat the question as a test with a recorded configuration.
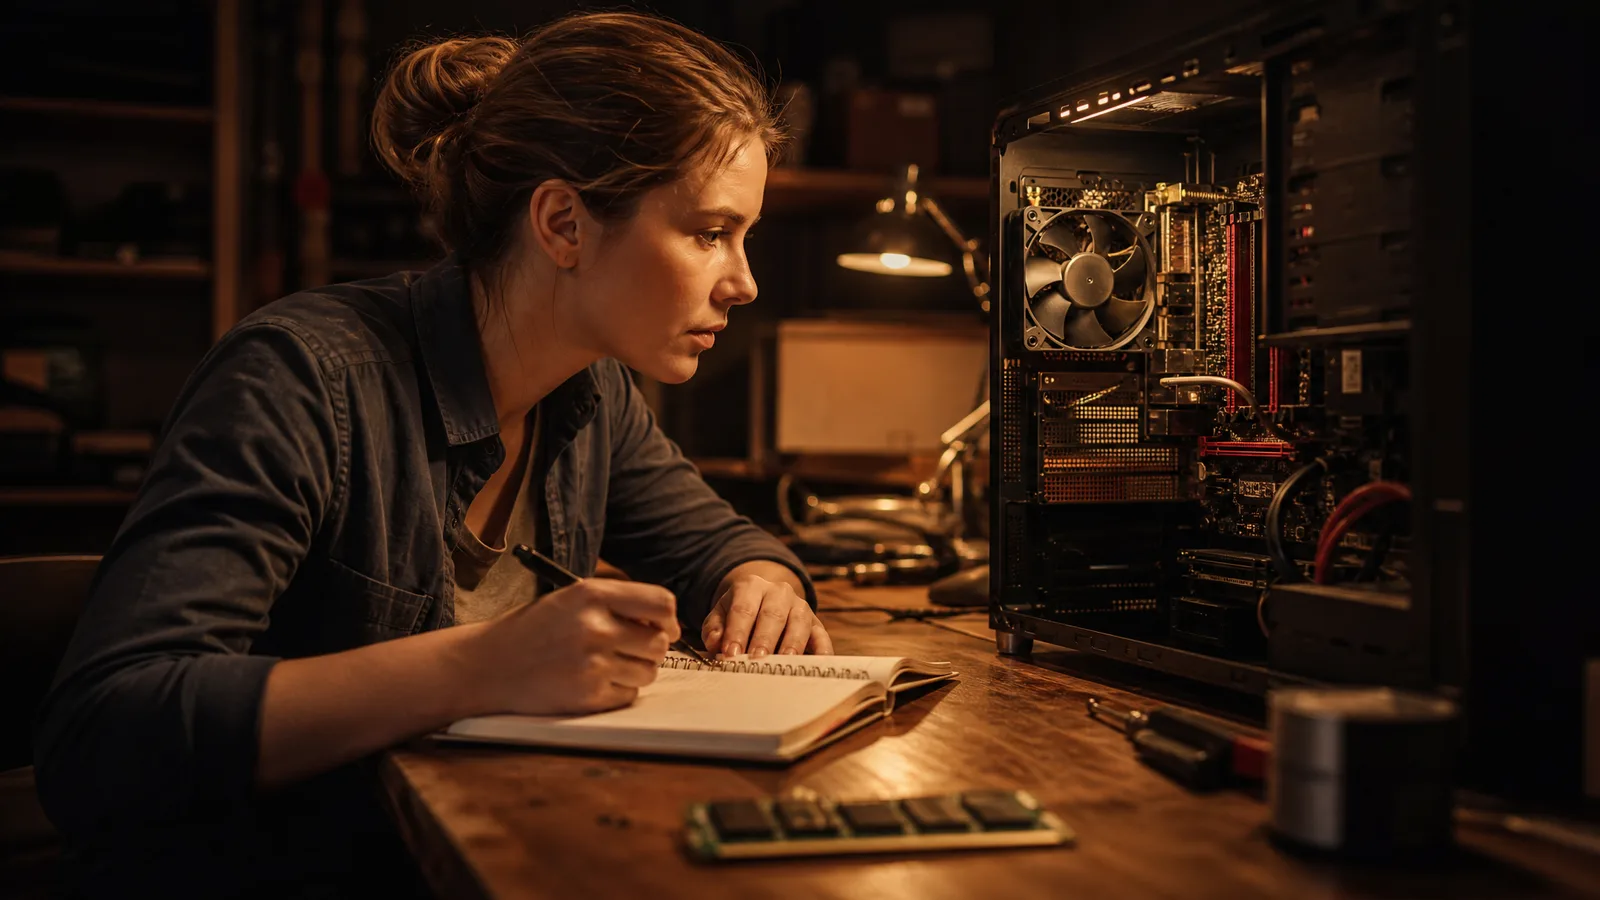
Start by inspecting available memory and other applications using the device. Advertised and available capacity differ. Record the actual state rather than subtracting an invented fixed amount for the operating system.
A clean restart or closing another GPU workload may change the test conditions, so note that change with the result.
How to Fix an Out-of-Memory Run, One Change at a Time
Find the stage that failed, then change one workload setting or one supported memory option and retest. Changing everything at once hides what actually helped.
| Where it fails | What it points to | One change to try |
|---|---|---|
| Loading model weights | The checkpoint or precision does not fit | A supported precision, offloading option or different checkpoint |
| During sampling | The workload size | Smaller dimensions or frame count, where the workflow permits |
| During frame decoding | The decode step | A supported decode or tiling option for that node |
| Missing node on open | Installation or import | Update ComfyUI or fix the node import |
Save the error message and identify the relevant node. Do not assume every out-of-memory error is a VAE problem or that one tiling option fixes every failure.
Resolution and frame count affect the workload, but supported ranges are workflow-specific. Do not insert arbitrary frame counts into an example that requires a particular sequence length. Smaller image dimensions also do not guarantee the largest model weights will fit.
Offloading, precision choices and alternative checkpoints are configuration changes with tradeoffs. Use options the installed version and workflow support, and keep the original settings for comparison. A third-party quantized file may need a compatible loader or custom nodes; its presence in a download folder does not prove it works with the official graph.
Inspect custom nodes' source, documentation and dependencies before installing them, and record their version and provenance. Do not install an unrelated collection because a tutorial says "all video nodes." Native components and third-party extensions are different maintenance responsibilities.
When a test fails, keep the complete error and configuration. Record the failed stage, model files and output settings. A short note such as "16GB does not work" loses the information needed to tell whether the issue is memory, installation, a missing component or an incompatible workflow.
How Should You Judge a Completed Run?
A completed generation shows that one configuration ran; it does not prove good motion, reliable identity or compatibility with larger settings. Review the full clip against the source image before calling the experiment a success.
- Portrait: inspect the face, hands and background throughout.
- Product: check proportions, logos and fine text.
- Landscape: look for abrupt changes in geometry or environmental motion.
A brief with one restrained action is easier to evaluate than several complex movements at once.
Keep the source image and prompt with the saved workflow. If you change the model, precision, dimensions or frame count, label the result as a different configuration.
If you measure elapsed time, say what it includes: loading weights, sampling, decoding or the whole run. A timing from another GPU or a warmed process cannot be assumed to describe your machine.
You may need editing to combine clips, adjust timing or add a soundtrack. Raising the playback frame rate is not the same as generating more independently predicted motion; interpolation is a separate processing step and should be recorded as one.
The model comparison guide offers review questions without claiming an unmeasured winner. The motion prompt guide helps keep the movement request specific.
Turn your image into a video now
Start with a photo and a motion idea. Create a moving scene for a personal story, a product reveal or your next social post.
Get startedWhen Should You Use a Hosted Workspace Instead?
Use a hosted workspace when local setup does not fit: generation runs on provider infrastructure, so your GPU does not need to hold the model. It still has model-specific inputs, access requirements, credits and variable processing time. Browser access does not mean the model executes inside the browser.
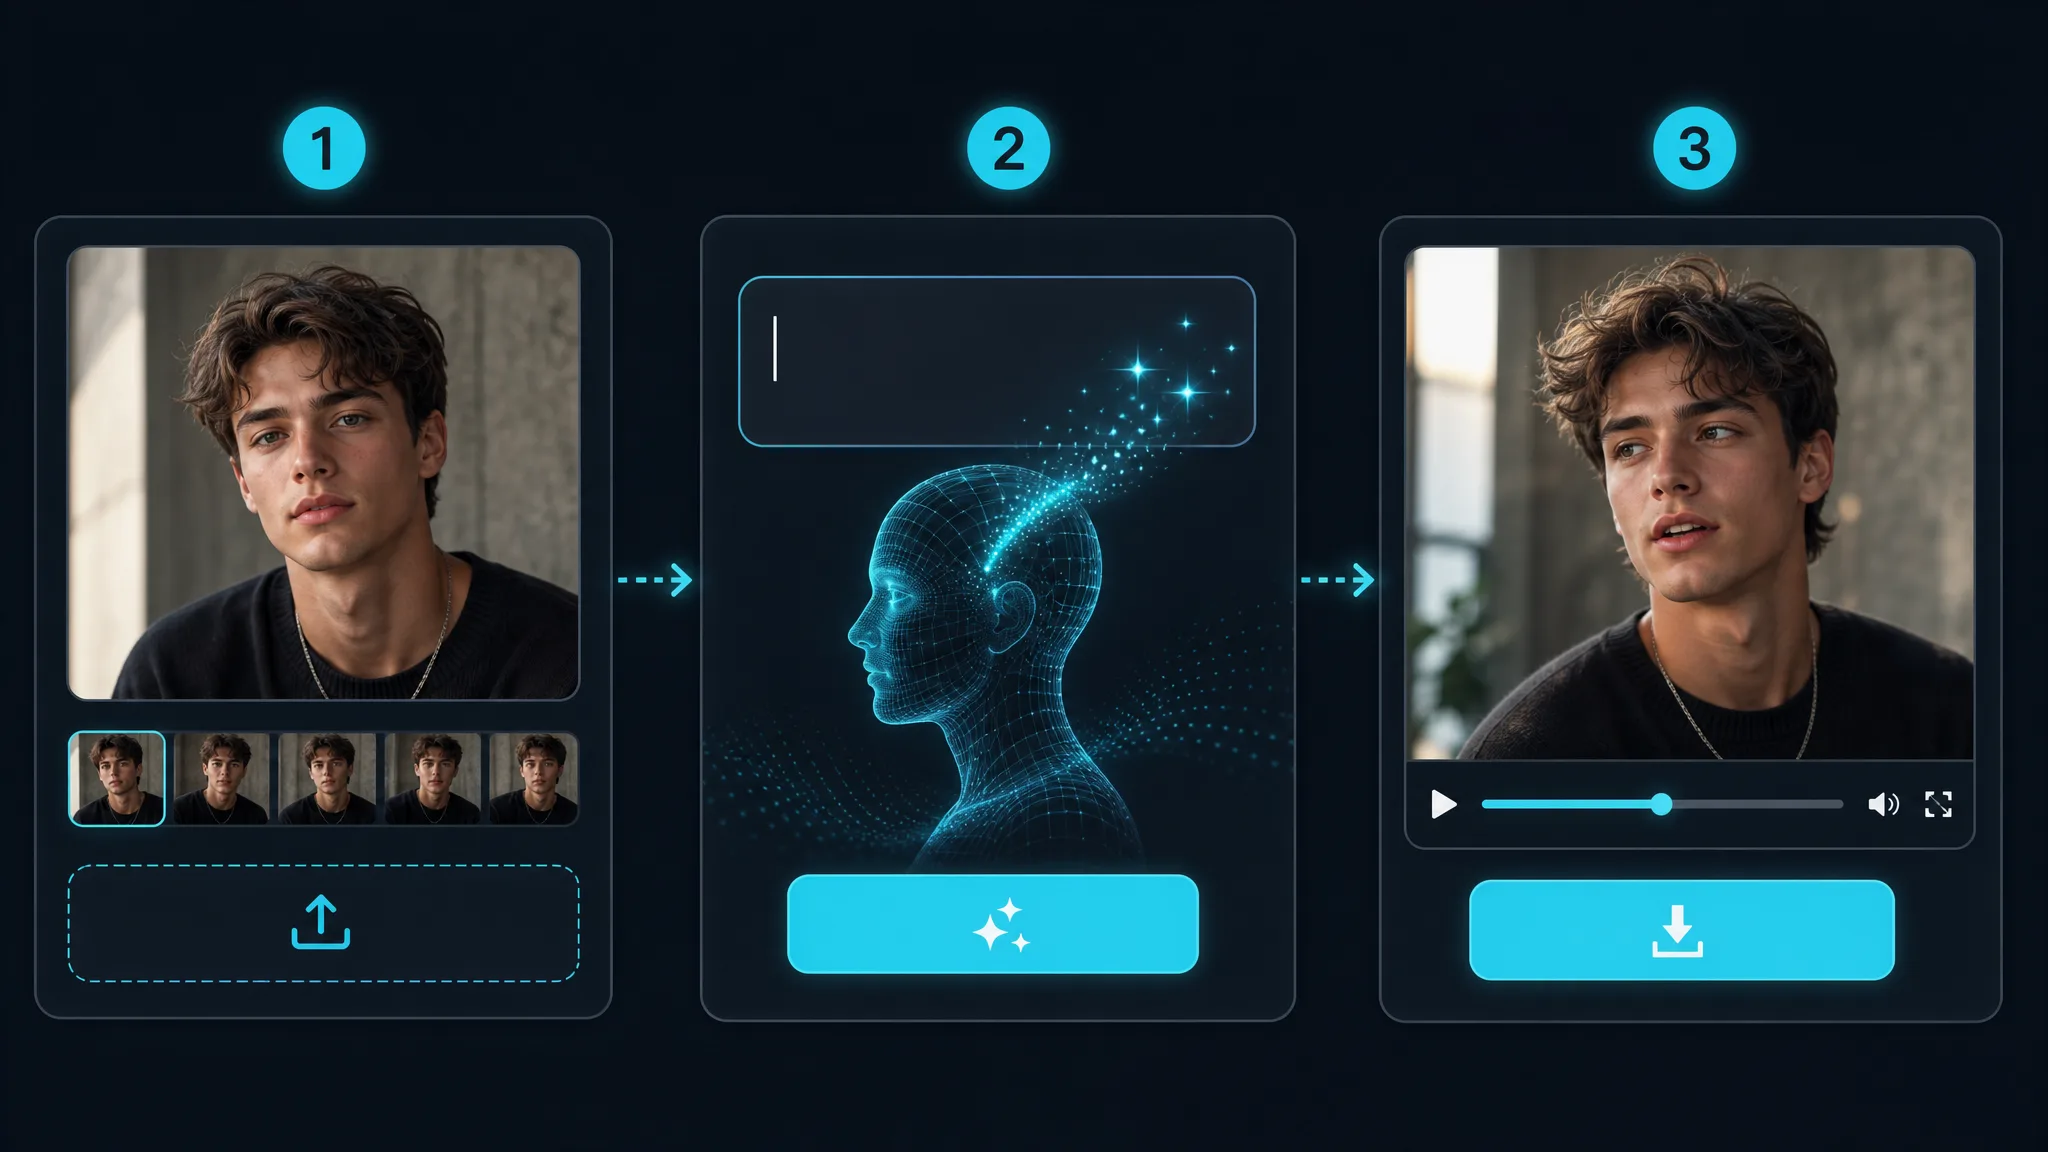
The ImgVid image to video workspace lets you upload an image, select a compatible engine, and review its available settings and quote. ImgVid's hosted Wan page currently opens the configured Wan 2.7 entry. That is not the local Wan2.1 checkpoint described above, so do not label the outputs as the same model experiment.
Generation requires an eligible signed-in account, model access and sufficient credits. Free-tier eligibility is limited to permitted configurations, and rewards do not guarantee enough balance for a chosen attempt.
Free generations include an ImgVid watermark, while eligible paid generations export without it. Read the quote before starting instead of assuming a cloud option is unlimited or automatically free.
Local and hosted workflows cost different things. Local generation involves hardware, electricity, disk space, setup and troubleshooting; hosted generation involves credits and access conditions. Neither is universally cheaper. The image to video cost guide explains how to compare them without inventing a per-clip price.
FAQ
Does the Wan2.1 1.3B low-memory example prove image-to-video support?
The 1.3B example does not prove image-to-video support. The official ComfyUI guide presents 1.3B for text-to-video and 14B for its image-to-video examples, so a memory statement about the lightweight text model cannot be applied to the larger image-conditioned workflow.
Does an FP8 text encoder mean the whole video model is FP8?
An FP8 text encoder only describes that one file. The text encoder and diffusion checkpoint are separate components, so check each file's role and precision; changing one does not describe the format or memory needs of the others.
What should I record when a workflow runs out of memory?
Record the checkpoint, component files, workflow version, settings, available device memory and the failed node or stage, and keep the error output. Loading, sampling and decoding failures should not be treated as the same diagnosis.
How long will a local generation take?
This revision provides no measured time estimate. Hardware, loading state, checkpoint, precision and output settings all affect elapsed time, so measure your actual configuration and state which stages the observation includes.
Is a hosted image to video tool the same as running Wan2.1 locally?
A hosted tool is a different setup from a local Wan2.1 run. ImgVid's Wan page currently opens a configured Wan 2.7 entry on provider infrastructure, with its own inputs, credits and processing time, so compare its outputs as a separate configuration.