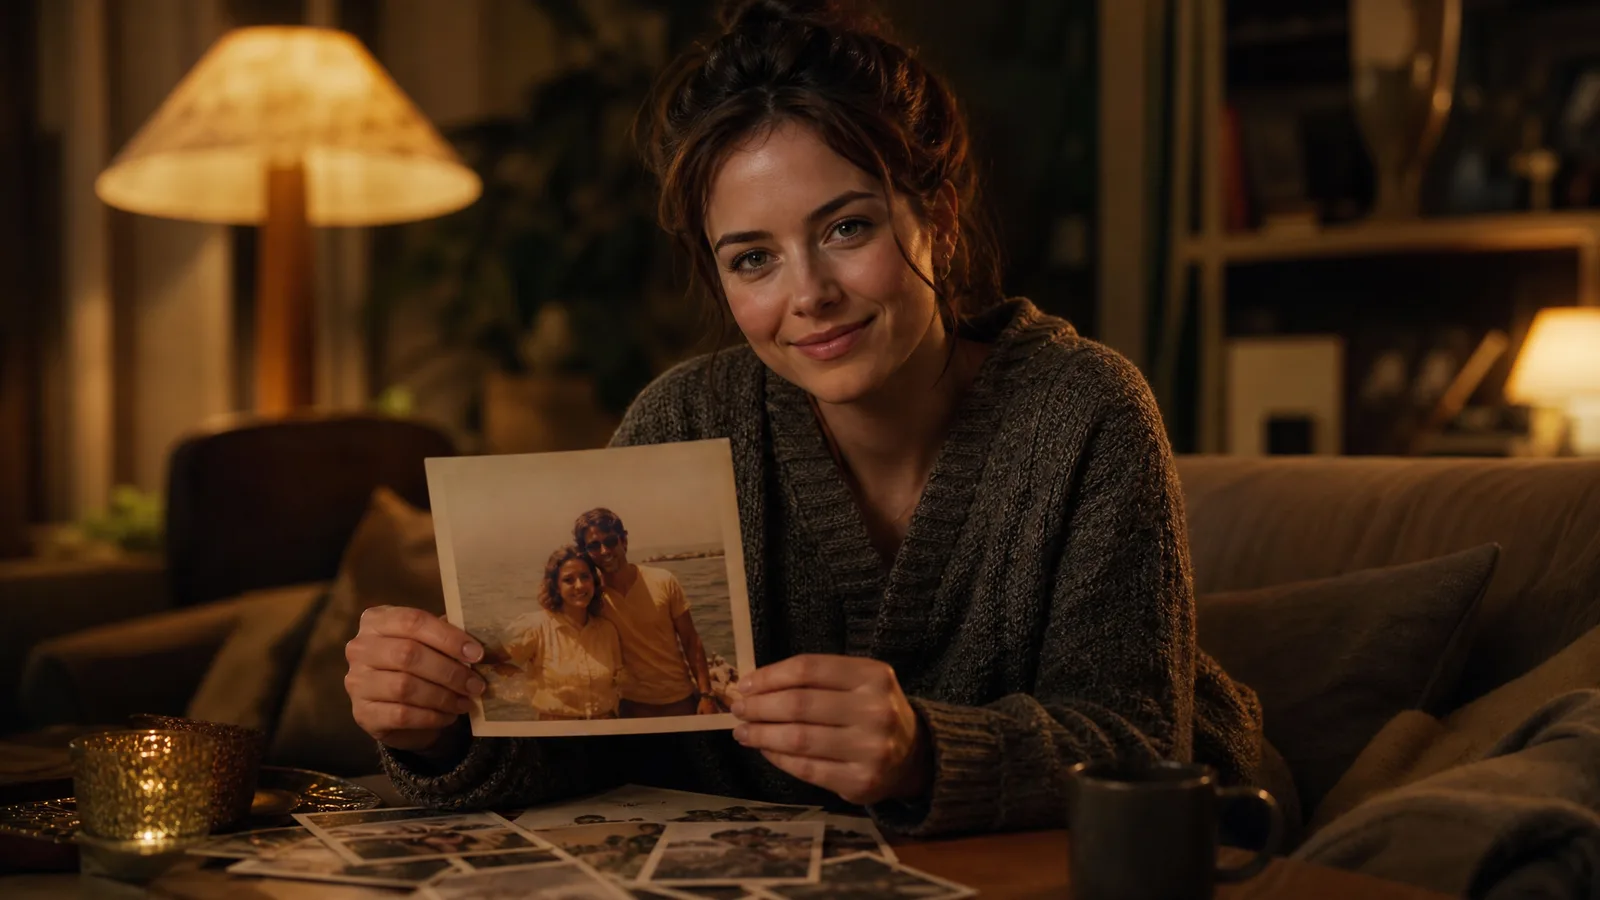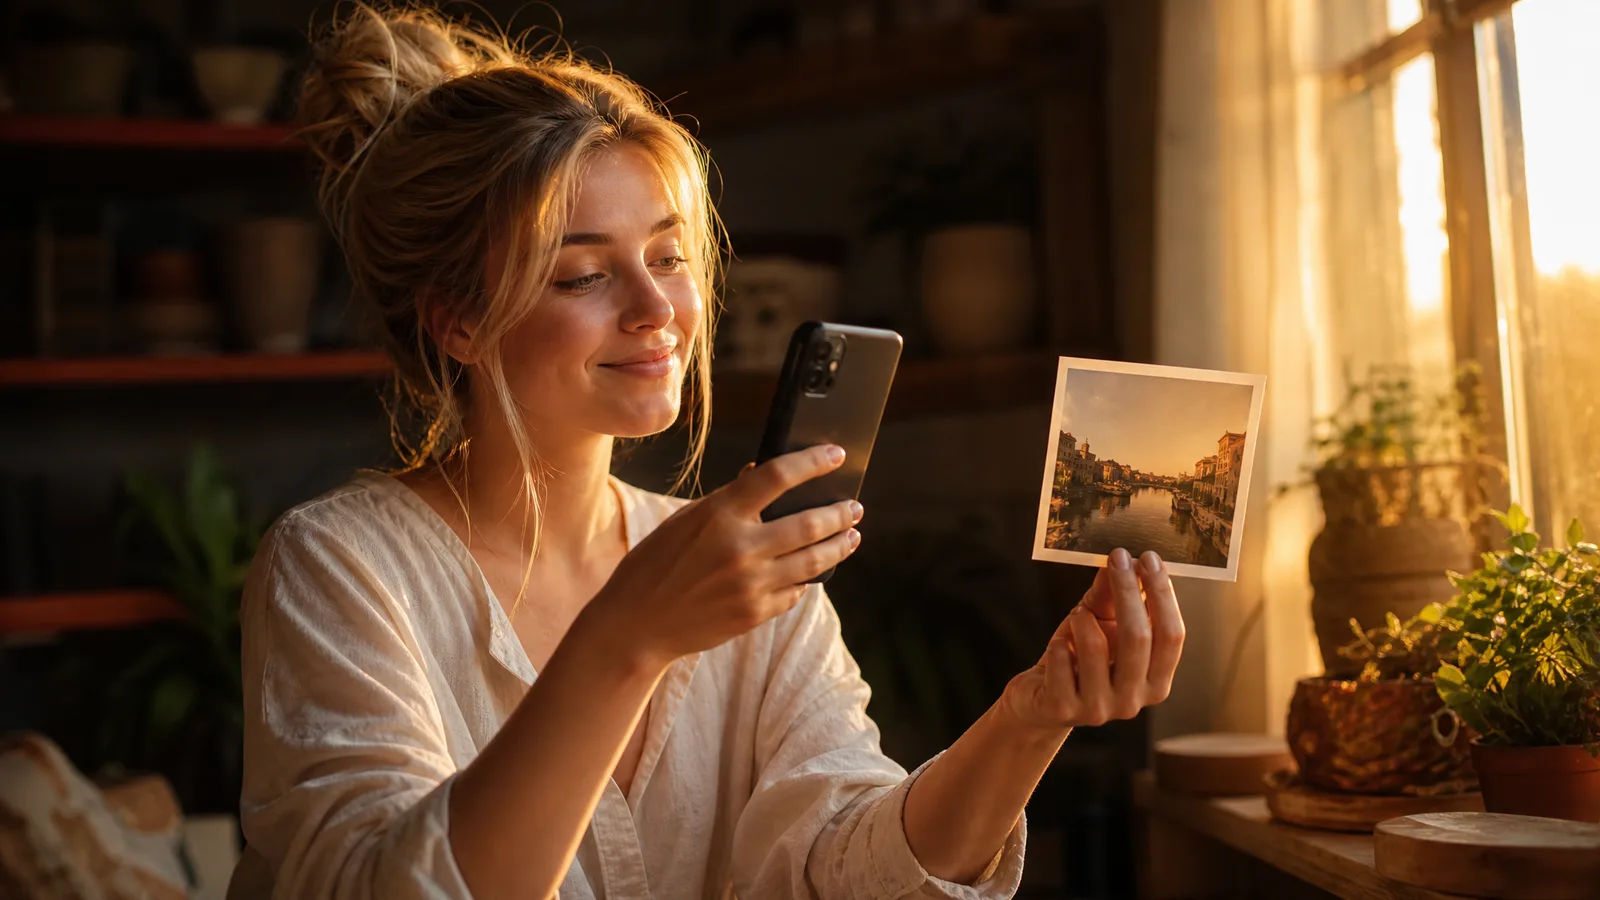
To use reference images in AI video, upload a sharp photo of your character, product or style into the tool's reference slot, write a prompt that describes only the motion, and generate. Then compare the clip against the reference and change one input if it drifts. A reference guides appearance; it does not lock identity.
What Are Reference Images in AI Video?
A reference image is a still photo you give a compatible AI video model as appearance guidance for a subject, object or visual style. Unlike a start frame, it is not the first frame of the clip. Neither input guarantees unchanged pixels, identity or details.
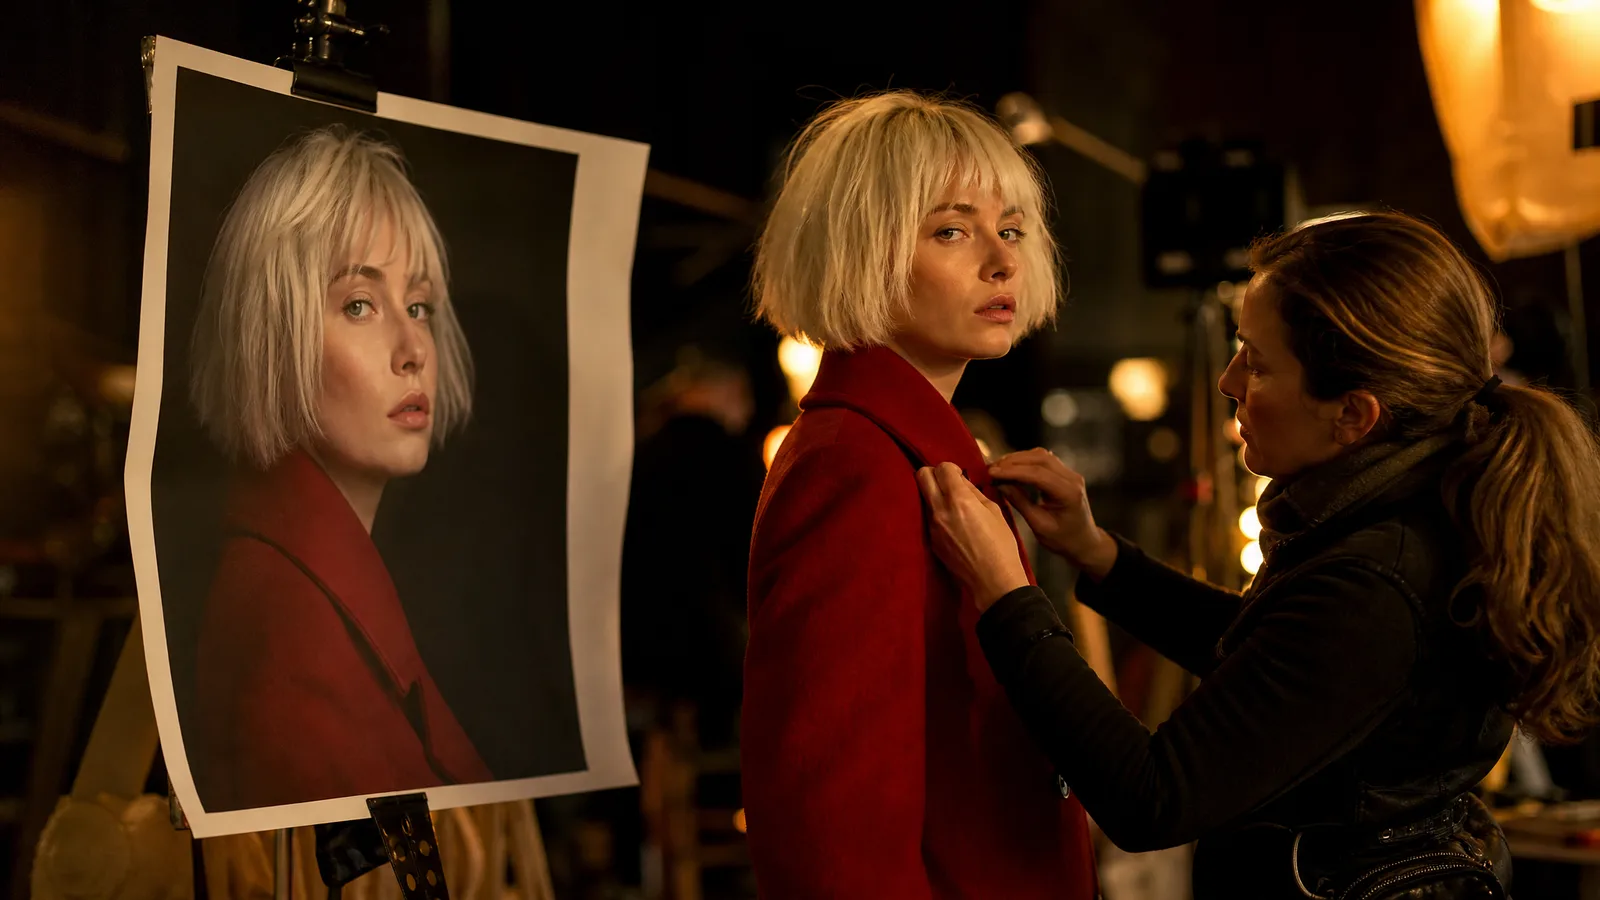
This is the core idea behind reference-to-video. Providers such as Vidu, Runway and Kling describe reference or character features on their own product pages. Names, input limits and availability change, so check each provider's current documentation.
On ImgVid, reference mode is available on configured engines including Veo 3.1, Seedance 2.0, Wan 2.7 and MiniMax H3. The model picker shows the current list.
Subject Reference vs Style Reference
The word "reference" gets used loosely, so it helps to be precise:
- A subject reference guides the appearance of a person, product or mascot.
- A style reference guides a look, such as a color grade, illustration style or overall aesthetic, without pinning any single subject.
Some tools accept both at once, so you can say "this character, in this style." Others expose only one. A photo that makes a great subject reference can be a poor style reference, and the reverse is just as true.
Reference Image vs Start Frame
People often confuse the two inputs. This table separates them:
| Aspect | Reference Image | Start Frame |
|---|---|---|
| Role | Guides identity/style | Guides the opening composition |
| Influence | Across the whole clip | Strongest at the beginning |
| Best for | Character consistency, style match | Planning the opening shot |
| Typical count | One or several | Usually one |
For the full breakdown, see reference-to-video vs start/end frame. When you need to pin both the opening and closing shot instead of an identity, start-and-end-frame video is the technique to reach for. For a primer on the category itself, what is image to video AI covers how a single photo turns into motion.
Why Do Reference Images Matter for Real Projects?
Most creative work is a sequence, not a single clip, and viewers notice the moment a subject changes. A short ad might cut between three shots of the same product. A social series might follow one character for a week. An explainer might return to the same mascot in every scene.
Small drifts break trust: a jaw that reshapes, a logo that shifts color, a jacket that grows a new collar. These read as "AI-generated."
Reference images add visual information you can compare against each result. That is why the skill pays off as soon as you move beyond one-off experiments.
See image to video AI in action
Give a photograph its next moment. Describe the movement and explore a short scene for your story, campaign or creative project.
Try it freeHow to Use Reference Images in AI Video, Step by Step
Choose a clean photo, upload it to the reference slot, add extra angles if allowed, prompt the motion, check the settings, then generate and review. The labels change between models, but the workflow stays the same.
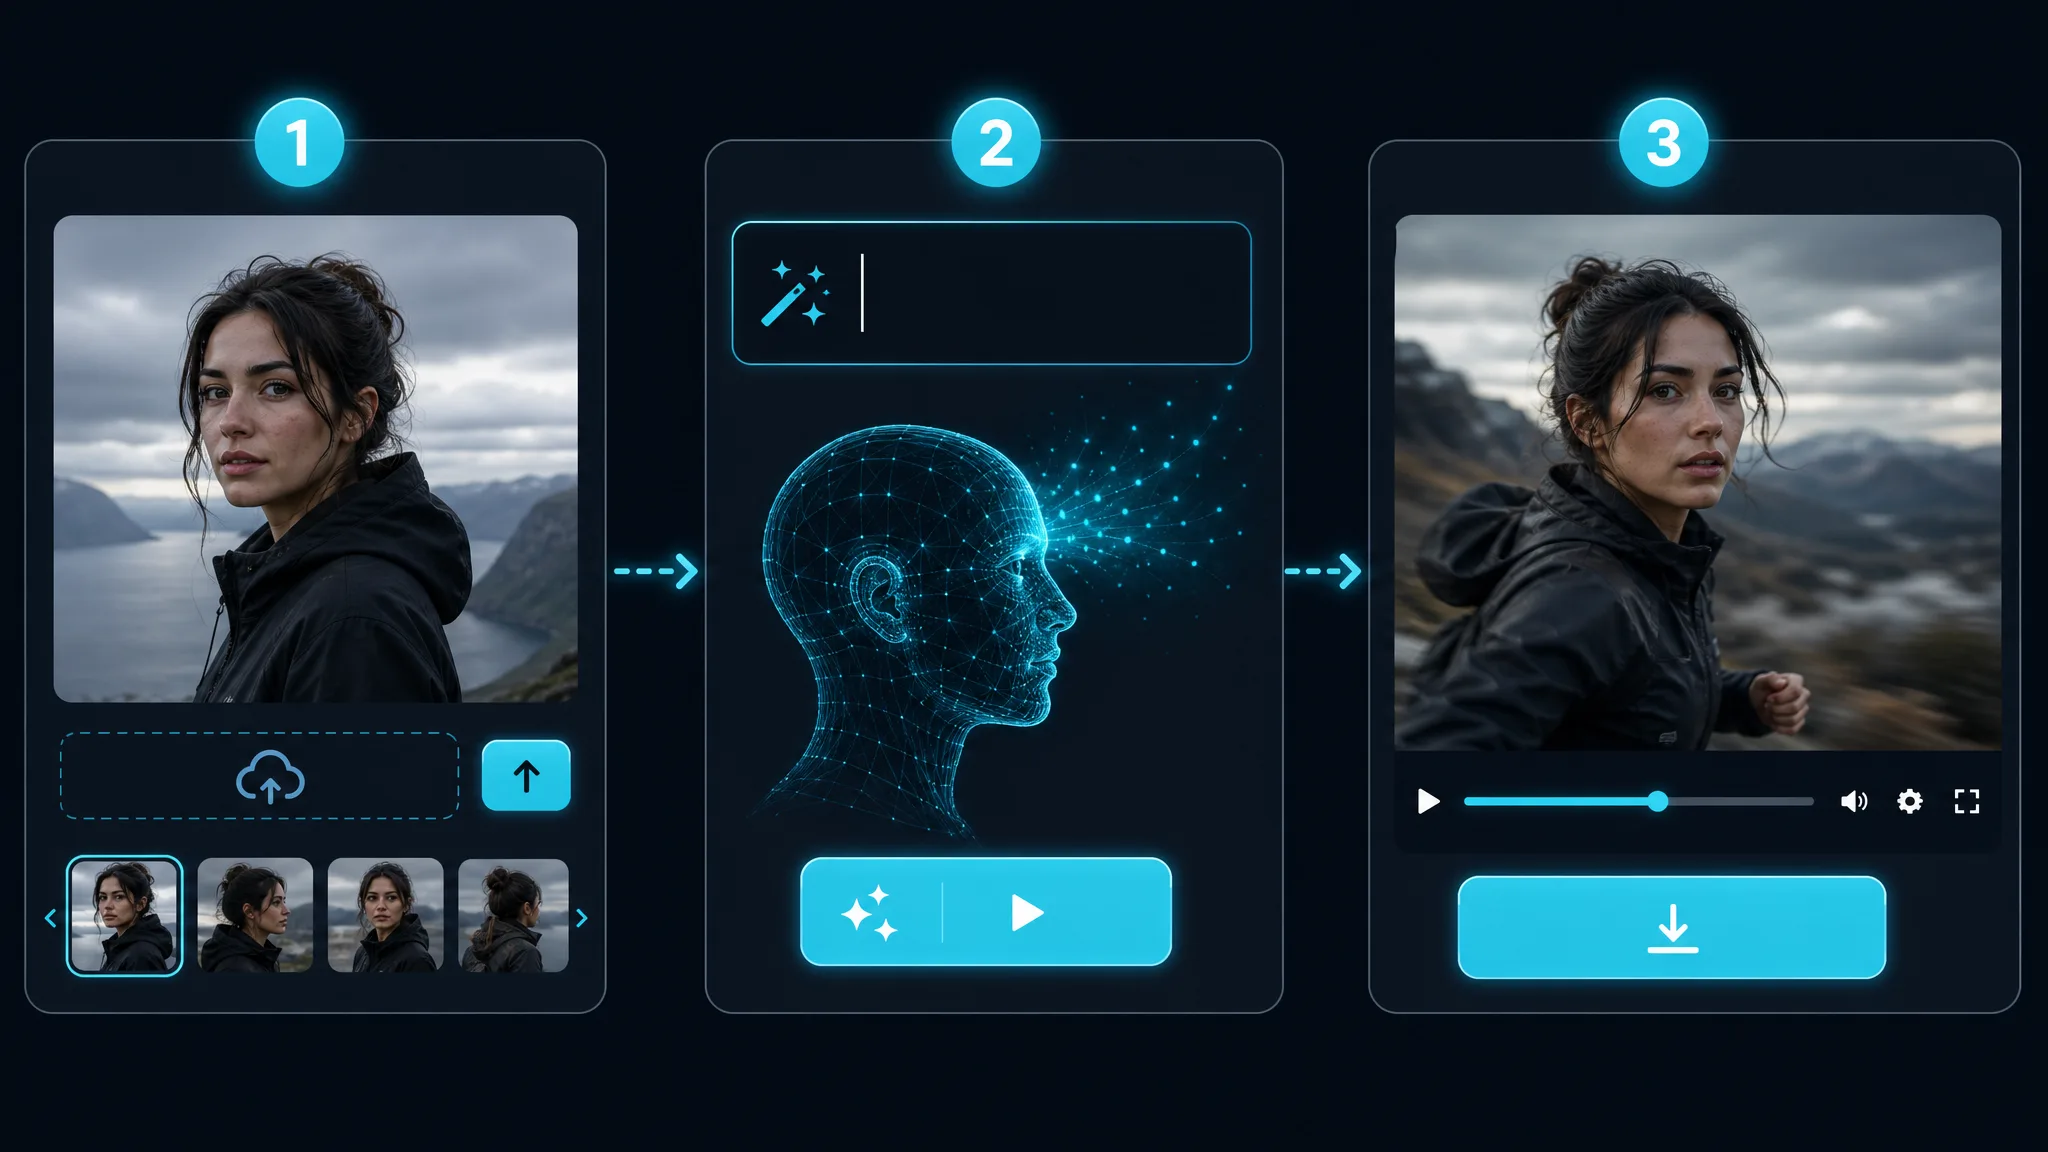
Step 1: Choose a Clean Reference
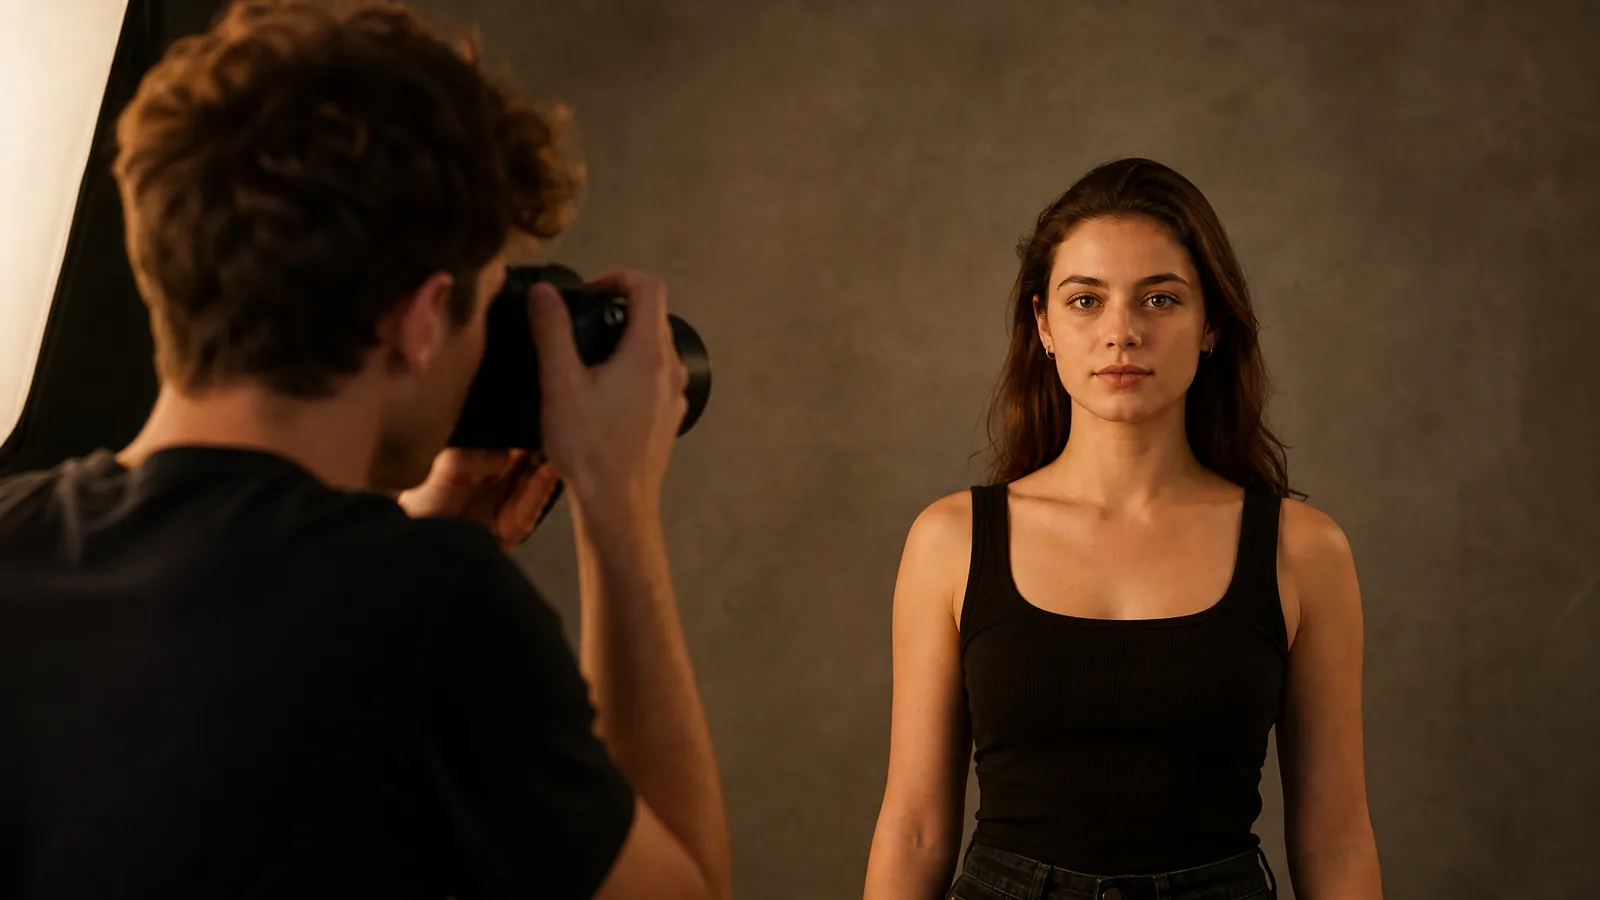
Pick a sharp, well-lit photo where the subject is clearly visible and roughly front-facing. Blurry or heavily cropped references give the model less detail to work from.
For a person, use a portrait where the eyes, nose and mouth are readable, so you have detail to compare against the output. For a product, choose the angle you most want the video to feature.
Step 2: Open the Reference Slot
Tools label it "reference," "character," "subject" or "style." Look for the upload control that sits next to your main image or prompt box rather than replacing it. That separation tells you the field is a guide, not a start frame.
Step 3: Add Supporting Angles (Optional)
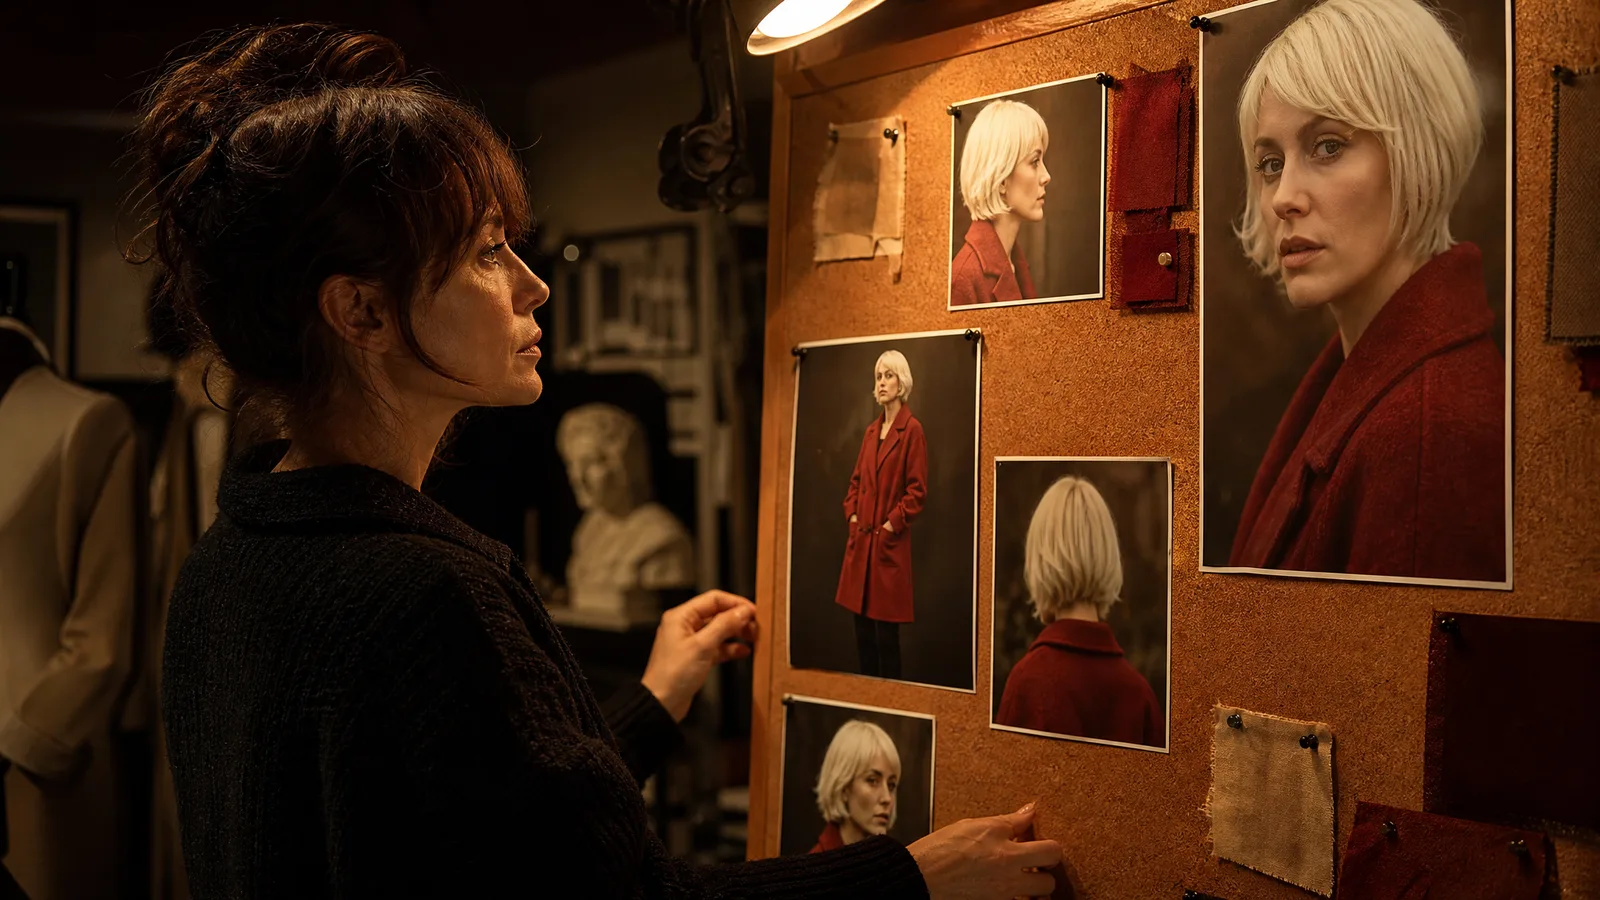
When multiple references are allowed, upload two or three views of the same person: front, three-quarter and profile. This helps most when the shot turns the subject, because a single front-facing photo gives the model nothing to work from once the head rotates.
Step 4: Write a Motion Prompt
Describe what should happen, not what the subject looks like. The reference already handles appearance. For example: "she turns toward the camera and smiles, soft window light."
Keep the prompt on camera movement, subject action and lighting mood. Every adjective spent re-describing the face is one the model might use to reinterpret it. Our guide to the best prompts for AI image to video covers motion phrasing in depth.
Step 5: Review the Supported Settings
Use the controls displayed for the selected mode. ImgVid has no universal motion-strength slider, so request restrained movement in the prompt and inspect the result.
Step 6: Generate and Review
Watch the face, hair and clothing across the whole clip, not just the first second. If they wander, request less movement or swap in a cleaner reference, then run it again. Treat the first generation as a draft, not a verdict.
ImgVid runs in the browser while generation runs on provider infrastructure, so there is nothing to install. Eligible Gmail or googlemail accounts get signup credits for testing the workflow before choosing a plan.
Processing time and quoted credits vary with the selected configuration and provider queue. Each new attempt consumes credits, and no fixed number of tries is guaranteed to fix identity.
How Do You Keep a Character Consistent Across Clips?
Reuse the same clean reference for every clip, keep the subject large and evenly lit, and prompt motion rather than looks. References guide appearance; they do not lock identity or guarantee the same face, body and wardrobe across attempts.
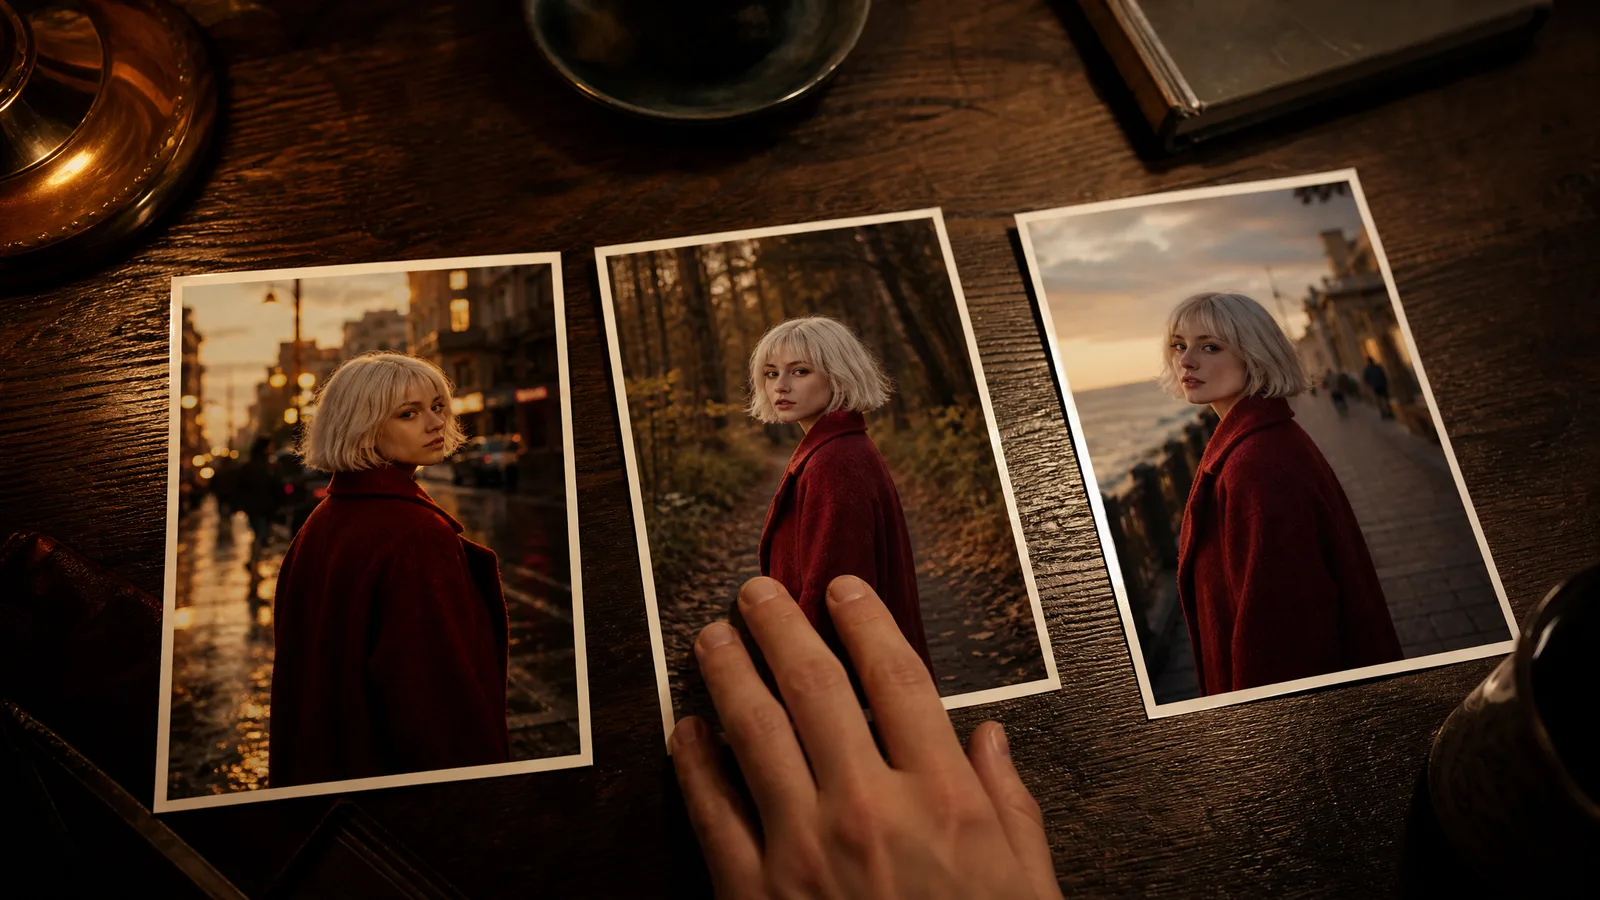
Without a reference, a model generates a plausible face each time, which is why an unguided subject can look like a different person in every clip. A reference gives it an anchor to match against, though no provider's reference feature guarantees an exact match.
These habits keep the comparison easy to read:
- Reuse the same reference for every clip in a sequence. Even two photos of the same person taken minutes apart can nudge the model toward slightly different faces.
- Prefer neutral, evenly lit photos. Dramatic shadows bake into the identity and fight your scene lighting.
- Keep the subject large in frame so there is plenty of facial detail to match.
- Describe motion, not looks. Prompting "red hair, blue jacket" when the reference already shows them invites reinterpretation.
- Lock the wardrobe in the reference. If an outfit matters, make sure it is fully visible; the model cannot preserve a detail it never saw.
Build a Small Reference Kit
For longer projects, assemble two or three clean shots of your subject and reuse that exact set for every clip. When you need a new scene, such as a different room or time of day, change only the prompt, never the kit.
This discipline separates a coherent series from a collection of near-misses.
Set Realistic Expectations
References do not produce a perfect identity match on every frame. Fast motion, large head turns and extreme close-ups magnify tiny facial details.
Plan around this. Favor moderate motion for hero shots of a character, and save wilder camera moves for scenes where the subject is smaller in frame.
Turn your image into a video now
Start with a photo and a motion idea. Create a moving scene for a personal story, a product reveal or your next social post.
Get startedHow Many Reference Images Should You Use?
Start with one clean, front-facing photo. If your tool supports multiple references and the shot turns or moves the subject, add two or three angles of the same person.
Some reference-to-video systems, such as Vidu, let you add several references, for example different angles of the same person. Others accept a single reference. Check what your model allows, then reuse the same set across related clips rather than swapping photos between shots.
What Makes a Good Reference Image?
A good reference is sharp, front-facing and uncluttered, with the subject well lit and clearly separated from the background. Run through this list before you upload:
| Do | Don't |
|---|---|
| Use a sharp, in-focus photo | Use motion-blurred or grainy shots |
| Keep the subject large and centered | Crop out half the face or body |
| Choose even, neutral lighting | Use harsh shadows or strong color casts |
| Show a clear, front-facing angle | Rely on extreme profiles or back views |
| Reuse one reference across a sequence | Swap references between related clips |
A few finer points:
- Resolution beats cropping. A higher-resolution reference carries more facial and texture detail. Between a large, slightly wider shot and a tiny, tightly cropped one, the larger image usually wins.
- Avoid competing subjects. If two people appear, the model may blend them or pick the wrong one. Crop to the single subject you want.
- Keep accessories consistent. Glasses, hats and jewelry are identity cues. If they appear in the reference, they will usually persist even when the prompt omits them.
- Mind the background. A busy backdrop competes for attention; a clean or softly blurred one keeps focus on the subject.
Match your reference lighting to the scene you're generating. If the reference is lit from the left but your prompt asks for a sunset behind the subject, the model has to reconcile two lighting stories at once, and that is where faces start to look "off." A neutral reference leaves room to relight cleanly.
Why Does My Character Still Change? Fix Drift One Change at a Time
Drift usually means the reference is weak or the prompt is fighting it. A blurry, small or oddly angled reference leaves little detail to match, and prompting for appearance instead of motion invites reinterpretation.
When a clip drifts, change a single thing and regenerate:
| Symptom | Change this one thing |
|---|---|
| Face reshapes during a head turn | Add a three-quarter or profile angle, if supported |
| Outfit details appear or vanish | Use a reference where the full outfit is visible |
| Face looks "off" under scene lighting | Swap in a neutral, evenly lit reference |
| Identity loosens during fast action | Request slower, smaller movement in the prompt |
| Two people blend together | Crop the reference to one subject |
Resist fixing drift by adding descriptive words; over-describing the subject is a common way to unlock the identity you were trying to protect. Changing everything at once makes it impossible to learn what actually helped, and a cleaner photo or revised prompt still does not guarantee a corrected output.
Once you know how to use reference images in AI video, start with one strong photo, describe the motion, and inspect how each attempt follows the reference. Try it on your own subject with ImgVid's reference-to-video tool.
FAQ
What's the difference between a reference image and a start frame?
A start frame guides the opening composition of the clip, while a reference image guides identity and style across the whole clip. Use a start frame to plan the opening shot and a reference to keep a character recognizable throughout; review the result in both cases rather than assuming exact pixels.
Can I use a reference image to match a visual style instead of a character?
A style reference can guide a look, such as a color grade, illustration style or overall aesthetic, rather than a specific subject. Some tools accept a style reference and a subject reference together, so you can ask for "this character, in this style." Check whether your tool exposes one field or both.
Does a reference image guarantee the same face in every clip?
A reference image does not guarantee the same face. It adds visual guidance the model tries to follow, but fast motion, large head turns and extreme close-ups can still change details. Reuse one clean reference and review every clip before you publish a sequence.
Should I describe the character's appearance in my prompt?
Describe motion, camera and lighting instead of appearance. The reference already carries the look, and repeating details like hair color or clothing in the prompt can push the model to reinterpret the subject rather than follow the reference.
Do I need editing skills to use reference images?
You do not need editing skills. Browser tools let you upload a reference, add a short motion prompt and generate, with no timeline or keyframes. ImgVid works this way and offers signup credits for eligible Gmail or googlemail accounts, so you can test the reference workflow before paying.
Which ImgVid models support reference images?
Reference mode on ImgVid is available on configured engines including Veo 3.1, Seedance 2.0, Wan 2.7 and MiniMax H3. Availability can change, so check the model picker on the reference-to-video page for the current list before you generate.